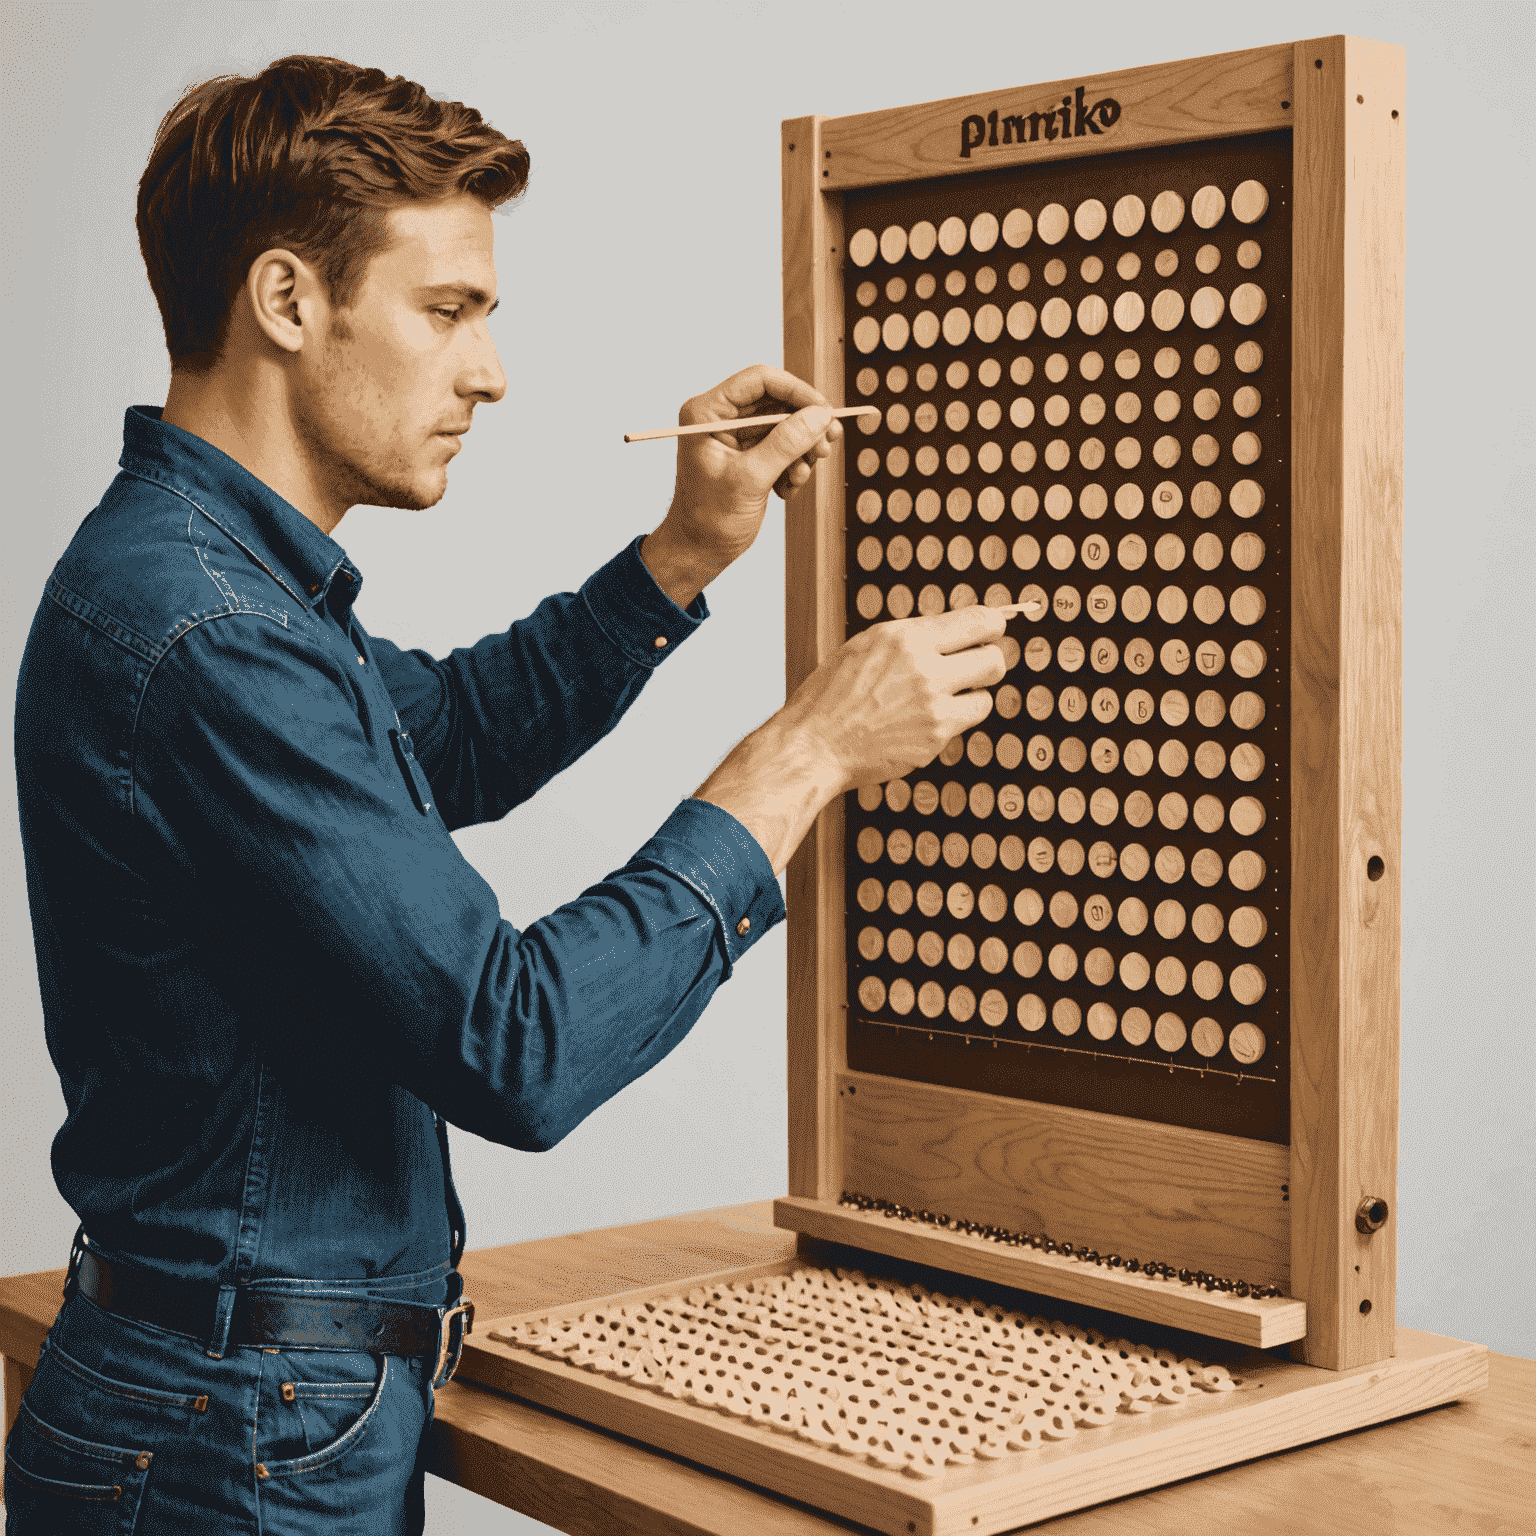
DIY Plinko: Build Your Own Game

Create endless party fun with your very own homemade Plinko board. This step-by-step guide will walk you through the process of building this classic game, perfect for your next gathering.
Materials Needed:
- Large wooden board (4' x 2')
- 100 wooden dowels (1/4" diameter, 2" long)
- Electric drill with 1/4" bit
- Sandpaper
- Paint or wood stain
- Ping pong balls
Step-by-Step Instructions:
- Prepare the board:
Sand the wooden board smooth and apply paint or stain as desired. Allow to dry completely.
- Mark peg positions:
Using a pencil and ruler, mark a grid for the pegs. Start 6 inches from the top and space pegs 2 inches apart horizontally and vertically.
- Drill holes:
Using the electric drill with a 1/4" bit, carefully drill holes at each marked position.
- Insert pegs:
Gently tap the wooden dowels into the drilled holes. Ensure they're secure but don't force them.
- Create scoring zones:
At the bottom of the board, create 9 equal scoring zones using thin strips of wood or by painting lines.
- Add finishing touches:
Paint scoring numbers in each zone and add any decorative elements you desire.
Your DIY Plinko board is now ready for action! To play, simply drop a ping pong ball from the top and watch as it bounces its way down to a scoring zone. This homemade version of the classic game is sure to be a hit at your next party, providing hours of entertainment for guests of all ages.
Remember, the beauty of DIY is that you can customize your Plinko board to fit your style. Feel free to experiment with different colors, add LED lights for a nighttime glow, or even create themed scoring zones to match your party's motif.
Enjoy your homemade Plinko game!